

Table of contents
AWS EC2 is one of the very most popular services of AWS. It is a virtual computer where you can deploy your application.
And in this post, we are going to deploy our first application to the cloud from scratch.
Step 1: Log in to your AWS account and open the EC2 service
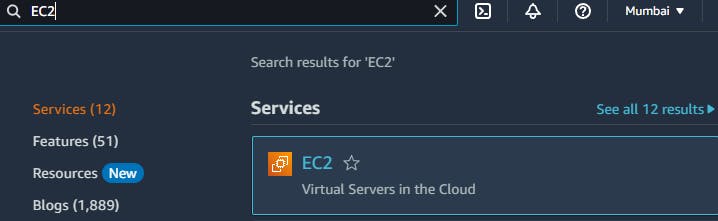
Login to your AWS account and in the search bar search for EC2 from the search result click on EC2
EC2 Dashboard
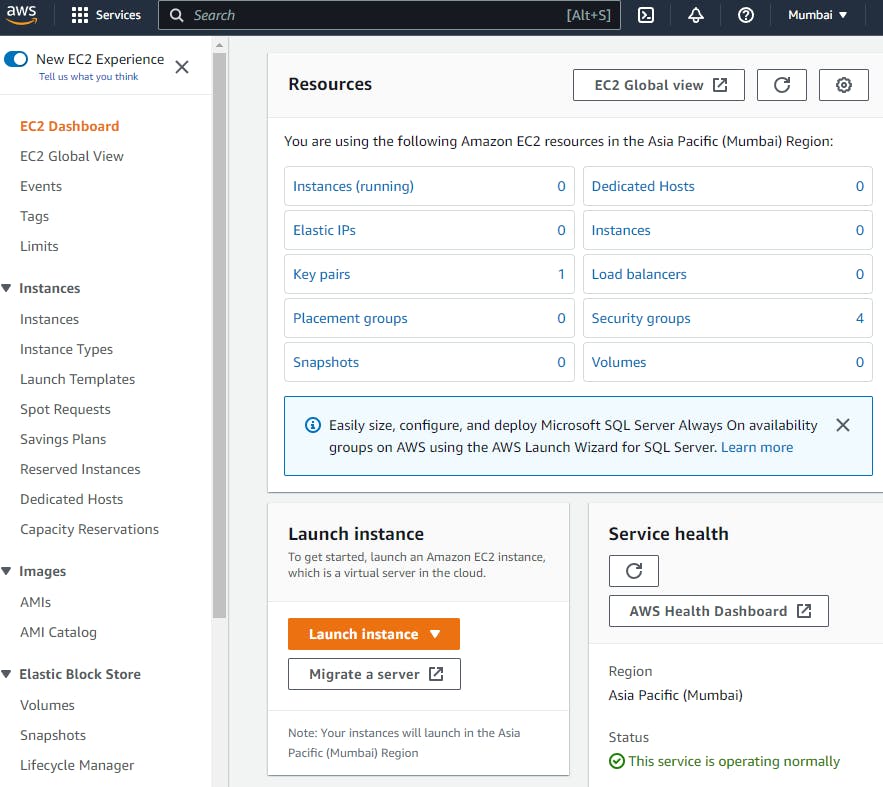
Click on the launch instance button which would lead to the creation of the instance.
Step 2: Add name and tag
This is the main configuration screen for the EC2 instance, in this screen, you will set up Compute capacity, Networking settings, and storage.
Give the Name of the instance as per your requirements.
You can also add tags to easily identify your instance. (Tag is very useful when you are working with multiple EC2 instances)
Step3: Choose AMI(Amazon Machine Image)
An AMI is a template that contains the software configuration (operating system, application server, and applications) required to launch your instance.
- I am going with Amazon Linux 2 AMI which is in the free tier. Choose as per your requirements there are other options available e.g. macOS, Ubuntu, Windows, Red Hat, etc.
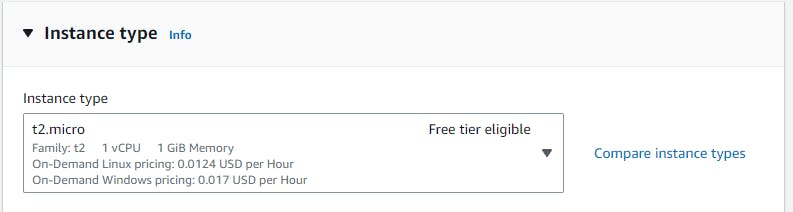
Step 4: Select the Instance type
* So instance types differ based on the number of CPUs they have, the amount of memory they have, and how much they cost.
* I have a T2 micro which is free tier eligible, so it will be free to launch.
* You could scroll down and look at other types of instances. For example, T1 micro is also free tier eligible, but that’s the older generation.
* If you wanted to compare the instance types, you will just click on that link, and it will show you all the types of instances here. as well as how much memory they have and so on.
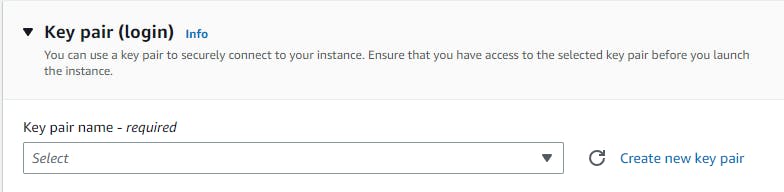
Step 5: Create Key pair
* There is no key pair, so let’s go ahead and create a new key pair.
* it is required to create key pair
* Enter the name of your choice, then you need to choose a key pair type, so we’ll be using the RSA encrypted.
* For key pair formats, if you have Mac or Linux, or Windows 10, then you can use the .pem format.

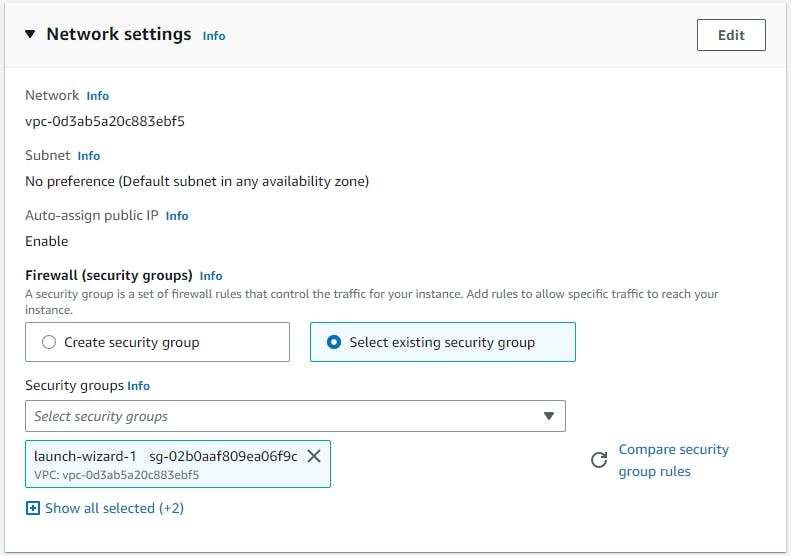
Step 6: Network settings
* We are not going to touch anything in the network settings.
* The First security group created will be called launch-wizard-1. But here I have already created it previously so I am selecting that.
* We can define multiple rules, so the first rule we want to have is to allow SSH traffic from anywhere.
* We also want to allow HTTP traffic from the internet, check mark allows HTTP traffic from the internet and this is because we’re going to launch a web server
* We’re not going to use HTTPS for now, we don’t need to tick the second box.
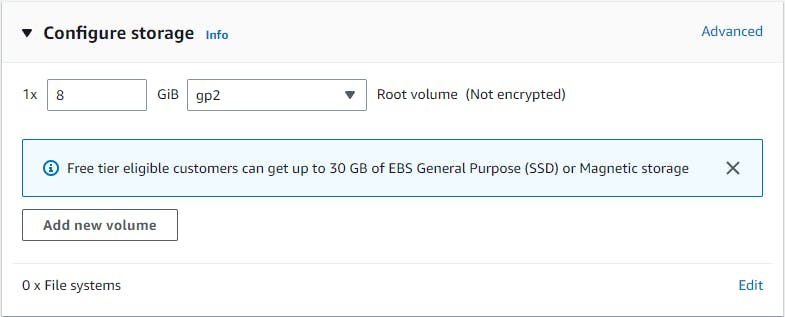
Step 7: Configure storage
* Let’s configure the storage, as we can see, we have eight gigabytes of gp2 root volume
* In the free tier, we can get up to 30 gigabytes of EBS General Purpose SSD storage, And we only have one volume necessary.
Step 8: Add user data in the Advanced tab
* In User data, we will pass a script, so some comments, to our EC2 instance to execute on the first launch of our E2 instance and only the first launch.
* And therefore, on the first launch, we want to be able to pass these commands right here.
* Paste the following code into the user data
yum update -y
yum install -y httpd
systemctl start httpd
systemctl enable httpd
echo "<h1>Hello! Welcome To AWS EC2 from $(hostname -f)</h1>"> /var/www/html/index.html
Step 9: Verify
* Go to the EC2 dashboard and wait for some time to change the instance state to Running.
* Once it is running then copy the IPv4 address and paste it into the new browser.

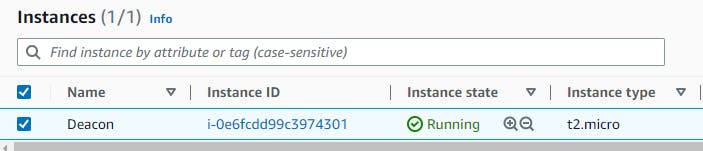

* Congratulations!! 🎉 you have successfully deployed your first website on EC2.
Conclusion
In this blog, we learned how to deploy HTML content on Amazon Linux 2 instance, and learned about different types of AMI, Instance types, networking settings of EC2, and storage.